A restored family photograph can look cleaner and still feel wrong. Perhaps a familiar smile has become straighter, an older relative looks younger, or a child’s eyes have changed shape. When the picture is destined for a canvas, recognition matters more than a perfectly smooth finish.
If you are preparing an old photograph for your Edmonton home or a family gift, set aside time to compare the result with the original. Our AI photo restoration guide covers the broader process. Here, the task is narrower: deciding whether the edited face still belongs to the person you remember.
In this guide
Decide what you want repaired
Write a short brief before opening an editor. For example: reduce the overall fading, soften a scratch on the background and keep the face, expression and age unchanged. This is a sample editing brief, not a report of a completed restoration.
Treat damage and identity as separate concerns. A crease beside a face and the crease of a smile are not the same thing. Wrinkles, uneven teeth, a distinctive hairline and the tilt of a person’s mouth may be the features that make the picture familiar.
Keep the original scan untouched. Give edited files different names so you can always return to the source. If the original file is a blurry phone capture of a paper print, first consider making a better capture; repeated edits do not substitute for information that was never recorded clearly.
Review once for recognition, once for detail
Begin with the whole photograph at a comfortable viewing size. Ask whether the mood and relationships between people feel the same. A face can pass a close inspection of individual features while losing its familiar expression overall.
Next, compare the original and edited versions at the same magnification. Align the faces as closely as your software allows and alternate between them. Avoid comparing a tiny original with a much larger edited preview: differences in display size can make a result seem more impressive without helping you judge it fairly.
Inspect detail at around 100% view as well, understanding that this is a file check, not a calibrated preview of the physical canvas. Look for repeated textures, odd transitions and sharp features that appear where the original was ambiguous.
Use this face-by-face checklist
- Eyes: compare their spacing, shape, gaze and the folds around them. Do new highlights or eyelashes look invented?
- Mouth: check the corners of the smile, lip shape and any visible teeth. Has the expression become more cheerful or more symmetrical?
- Nose and jaw: compare the outline, nostrils, chin and cheek shape. Do they still match the source?
- Age and skin: look for missing freckles, wrinkles or a changed skin texture. Has someone been unintentionally made younger?
- Hair and accessories: check the hairline, eyebrows, glasses, earrings and hat edges. Has part of a frame merged into the face?
- Whole group: count the people and check hands, shoulders and overlapping faces. Is anyone changed or partly erased?
A sharper feature is not evidence that it is historically accurate. Generative tools can produce plausible detail in unclear areas. If the source does not resolve a tooth, an eye or part of a face, the new detail needs particular caution.
Ask someone who knew the person
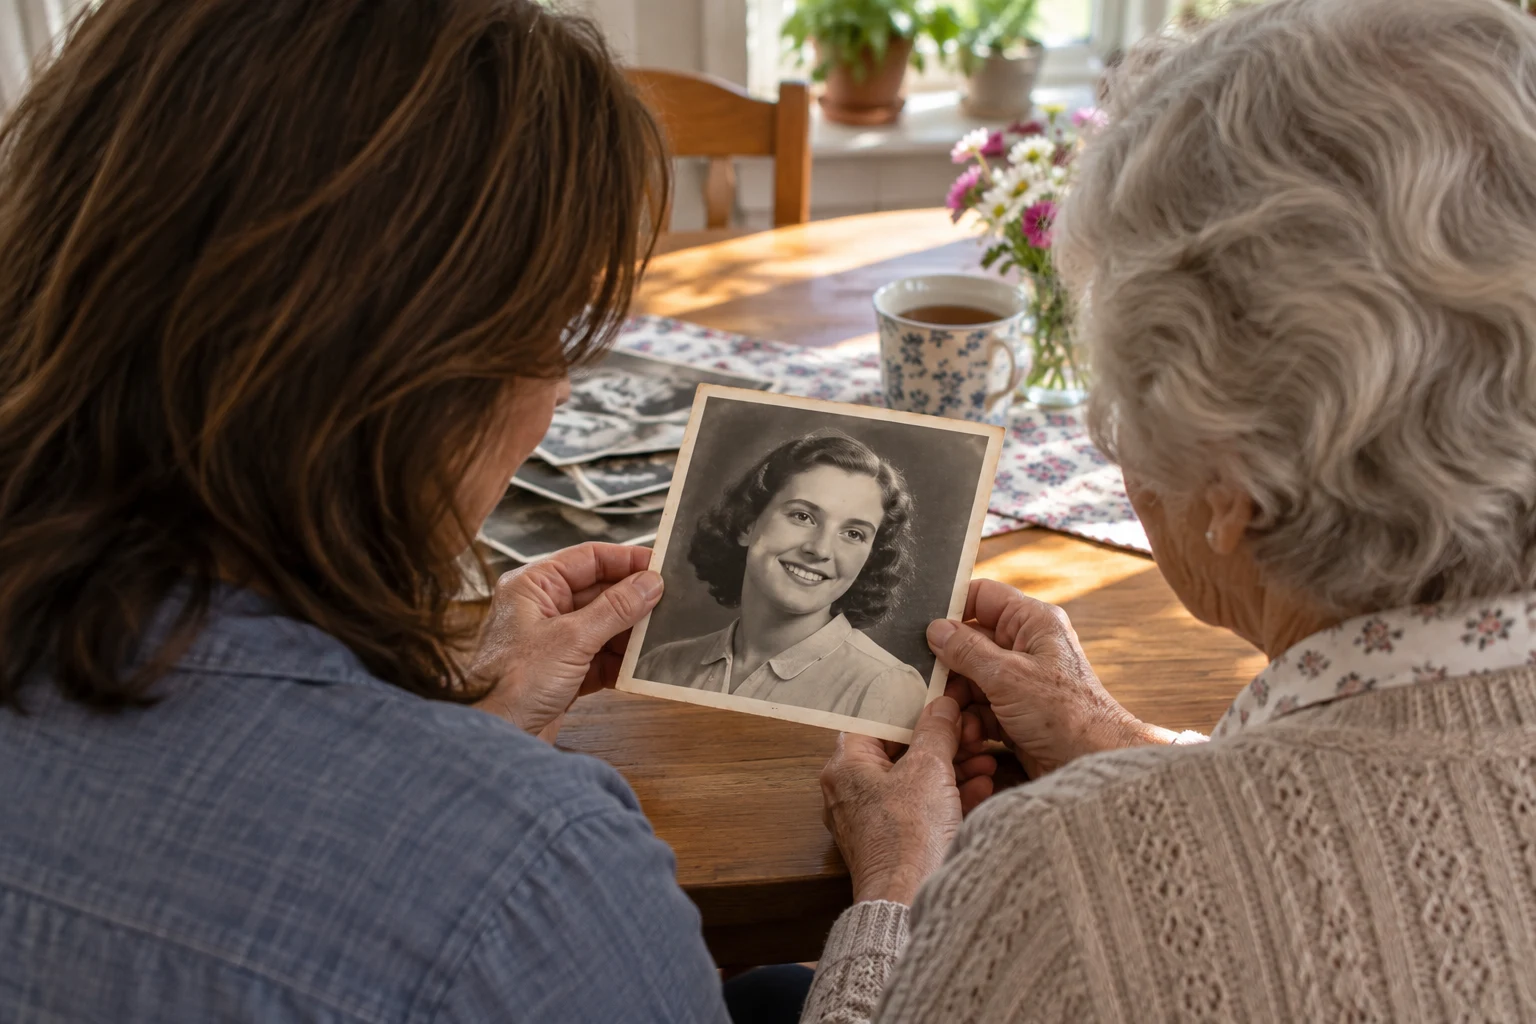
A relative may spot an unfamiliar expression immediately, even when you cannot name what changed. Show the original and edit together and ask a concrete question: “Does this still look like her, especially around the eyes and smile?”
Treat another photograph as a reference for recognition, not proof of the exact expression in this frame. Someone photographed ten years later, from another angle, will naturally look different. When the family disagrees, preserve the less altered version while you decide.
For a surprise gift, one trusted person may be enough to help with the review. Our guide to a canvas photo gift for grandparents offers more help with choosing the memory and involving family thoughtfully.
What to do when the result looks wrong
Return to the untouched scan. Try fewer changes, work on a smaller area if the tool supports it, or leave the face alone while adjusting fading elsewhere. You can explore the available tools in Creator Studio, but judge each result against your source rather than assuming a second pass will improve it.
If damage crosses a key feature, a careful human restoration review may be more appropriate. Even then, missing information may remain uncertain. A small scratch or some softness can be a better choice than a convincing face that no longer looks right.
Approve the person before the print
Once you are happy with the likeness, review the proposed canvas crop separately. Keep eyes, heads and meaningful gestures comfortably within the front-facing area. Save the approved version clearly so an earlier experiment is not uploaded by mistake.
Before ordering, ask us about your file and intended canvas size if any detail concerns you. The best result is a photograph the family recognises, with the improvements serving the memory.