Getting your favorite photo printed—especially as a large canvas or framed print—is exciting. But if the image turns out blurry, pixelated, or washed out, it can be disappointing and costly.
The good news? You don’t need fancy tools to preview how your image will look when printed. You can use your own computer or laptop screen to check image quality and determine if your photo is print-ready.
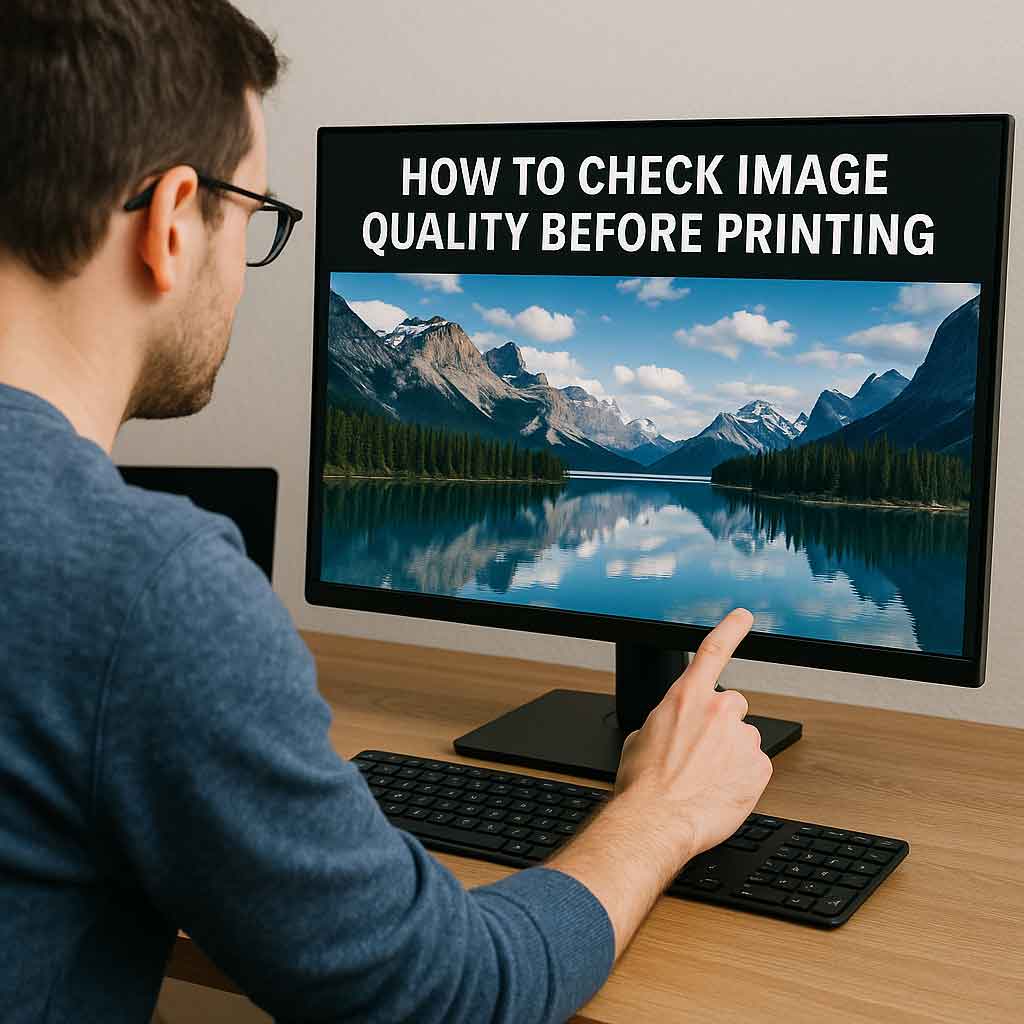
In this guide, you’ll learn how to check photo quality before printing, including how to:
- Use your monitor to inspect sharpness and clarity
- Check resolution and print size compatibility
- Avoid common photo printing mistakes
- Prepare your image for canvas or fine art printing
Why Checking Image Quality Matters
Many people assume that if a photo looks good on their phone or social media, it will print well. Unfortunately, that’s not always true.
Screens are forgiving, while printers are not. You might not notice blur, pixelation, or compression artifacts until the image is blown up and printed. Checking image quality before printing saves time, money, and disappointment.
Step 1: Know Your Target Print Size
Start by deciding what size you want your final print to be—whether it’s:
- A small 8×10” photo
- A 16×20” framed print
- A large 24×36” canvas
This step is critical, because your image needs to have enough pixels to support that size at good print resolution.
Step 2: Check Your Image’s Resolution
To prepare an image for printing, you need to know its pixel dimensions and determine if it’s large enough for your target print size.
How to check:
- Right-click the file > Properties > Details (on Windows)
- Control + click > Get Info (on Mac)
- Or open in any image editing software
Use this formula:
Pixels ÷ DPI = Print size (in inches)
Most professional printing services recommend at least 300 DPI (dots per inch) for sharp, detailed results.
Example:
A photo that’s 3600 x 5400 pixels will look best printed at:
- 12×18″ at 300 DPI (great quality)
- 24×36″ at 150 DPI (good for canvas or viewing from a distance)
Step 3: View the Image at 100% Zoom
Once you know your image is the right size, open it on your monitor and zoom in to 100% (actual size). This displays the photo with one image pixel per screen pixel—a true representation of its quality.
What to look for:
✅ Sharpness in important areas (e.g. eyes, facial features, textures)
❌ Visible pixelation or jagged edges
❌ Noise or graininess (especially in dark areas)
❌ Signs of compression (blocky areas or blur from over-editing)
If it looks crisp and detailed at 100%, it will likely print well. If it appears soft or low quality, consider resizing or enhancing the image before printing.
Step 4: Simulate Actual Print Size on Your Monitor
Want a better preview of how big your image will actually look on the wall?
Try this:
- Measure the width of your screen in inches.
- Find out your screen’s resolution (e.g., 1920×1080).
- Calculate DPI of your screen:
Screen width in pixels ÷ physical width in inches
Example:
A 24” monitor that’s 1920px wide = 80 DPI
So if your photo is 2400px wide, it will display at 30 inches wide on that screen.
This trick helps you visually simulate the final print by matching scale on screen to scale on paper.
Step 5: Calibrate Your Monitor (Optional, but Helpful)
Most monitors—especially laptops—are too bright or saturated. What looks vibrant on your screen might print dark or dull.
To improve accuracy, calibrate your display using:
- Built-in tools (Windows: Display Color Calibration / Mac: ColorSync Utility)
- External tools like Datacolor SpyderX or X-Rite i1Display
Calibrating ensures you’re seeing true-to-life brightness and color, helping you adjust photos more effectively before printing.
Step 6: Avoid Common Mistakes
Here are the most common problems that result in poor print quality—and how to avoid them:
❌ Low-resolution images (like screenshots or social media photos)
✔️ Always upload original, full-size photos from your camera or phone.
❌ Over-edited images with heavy filters or smoothing
✔️ Keep edits natural and avoid over-compressing before upload.
❌ Cropped too tightly
✔️ Leave enough margin so you don’t lose important parts of the image when printed, especially on canvas wraps.
Quick Reference: Image Size Guide for Printing
| Print Size | Minimum Pixel Dimensions | Recommended Quality |
|---|---|---|
| 8×10″ | 1200 x 1500 | Excellent (300 DPI) |
| 12×16″ | 1800 x 2400 | Excellent (300 DPI) |
| 16×20″ | 2400 x 3000 | Excellent (300 DPI) |
| 24×36″ | 3600 x 5400 | Great (at 150–200 DPI) |
| 30×40″ | 4500 x 6000 | Great (at 150–200 DPI) |
For canvas printing, slightly lower DPI (150–200) is acceptable since canvas has texture that softens small imperfections.
Step 7: Test Print at Home (Optional)
Still unsure how your image will print?
Print a 4×6 crop of the most detailed area of the photo on your home printer. This test gives you a real-world preview of sharpness, color, and contrast before committing to a large print.
Final Tip: Don’t Rely on Phones or Tablets
Phones and tablets auto-enhance everything—brightness, contrast, sharpness—which makes it harder to evaluate true quality.
Always use a desktop or laptop to check your photo before printing, ideally with a calibrated screen.
Ready to Print?
Once you’ve confirmed the resolution and previewed your image at full size, you’re ready to order! Use a trusted print shop that accepts high-res files and offers real-person support if you’re unsure.
If you’re in Canada, we recommend checking out Canvas Prints Calgary — we print fine-art quality canvas and photo prints using premium materials and 400-year fade-resistant inks, with free shipping nationwide.
Summary: How to Use Your Monitor to Check Photo Quality Before Printing
✅ Know your final print size
✅ Confirm resolution (aim for 300 DPI)
✅ View image at 100% on a desktop or laptop screen
✅ Check sharpness, clarity, and color accuracy
✅ Calibrate your monitor for best results
✅ Avoid over-editing or low-res files
✅ Consider a small test print if unsure
By following these simple photo printing tips, you’ll make sure your image looks just as stunning on your wall as it does on your screen.